Showing posts with label Recipe. Show all posts

Wednesday, August 10, 2011

Dog Days Dinner

They’re here.  It’s hot.  And, steamy.  It’s been this way for a while.  It’s natural to wish for a change in the weather pattern.  But, after these dog days, the weather will change and summer will officially be history.  I love summer.  I live for summer.  Unwilling to wish it away, it's time to dig down and find the good.  My silver lining?  The food.  The garden is flourishing.  Peppers are coming in daily.  Tomatoes are coming in daily.  Summer squash is gorgeous.  Melons are so ripe that my kids walk in the door and ask for a slice because they can smell it at the threshold.  What to do with all this produce?

As you may recall, I have had a love/hate relationship with cooking for most of my life.  As a result, I have a hard time classifying anything I make as good.  Well, this dinner changed that.  This meal was good.  So good, in fact, that my husband made me promise to write it down so I won't forget it and will be able to recreate it next summer.  Even I am willing to admit it was good.  And, I am a tough sell.  

If it is so good, why not whip up a batch this winter?  Well, this medley shines because of fresh, locally grown produce.  And, the ingredients won’t be available fresh during the winter.  Maybe it will be good with frozen vegetables, but I haven't made it (yet) so I can't say for sure.  Why take the chance?  Hit up your local farmer’s market, grab your CSA box or harvest from your garden and whip up a batch of this Dog Days Dinner.  Your taste buds will thank you. 


Dog Days Dinner
This meal can be served hot or at room temperature which makes it perfect for dinner at the table or for packing for a picnic in the park.
Serves 4

3 cloves of garlic, pressed in a garlic press
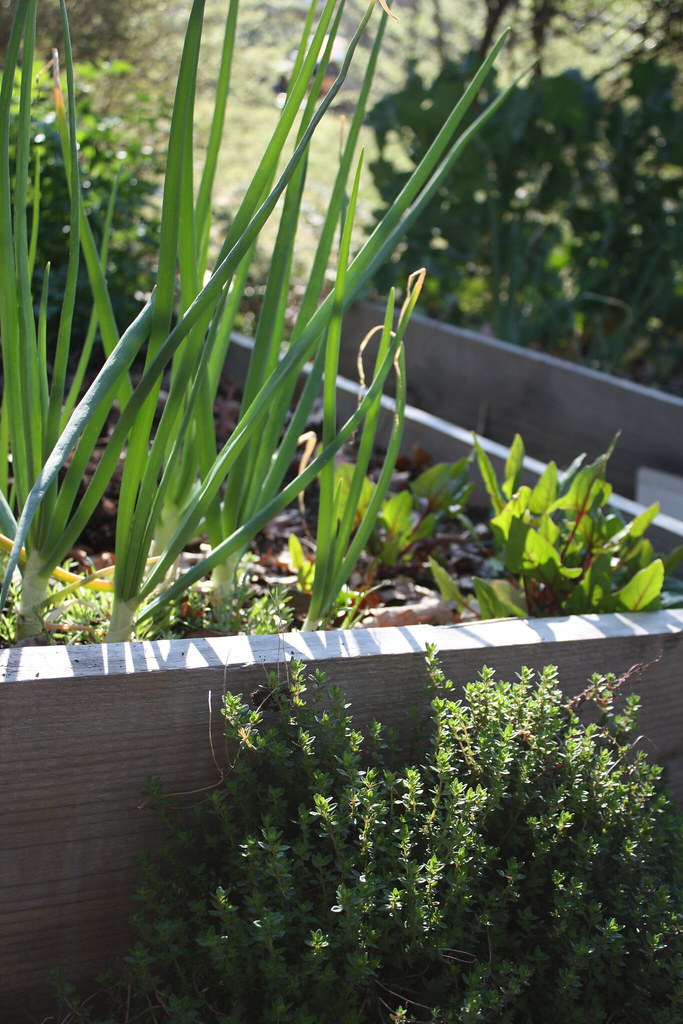
1 large onion (any variety), diced
Medley of peppers, diced (I used 2 banana peppers, 2 cubanelle peppers, 2 poblano peppers and 4 pimiento peppers.  You can use whatever you have available.  You can also add some jalapenos for added heat.)
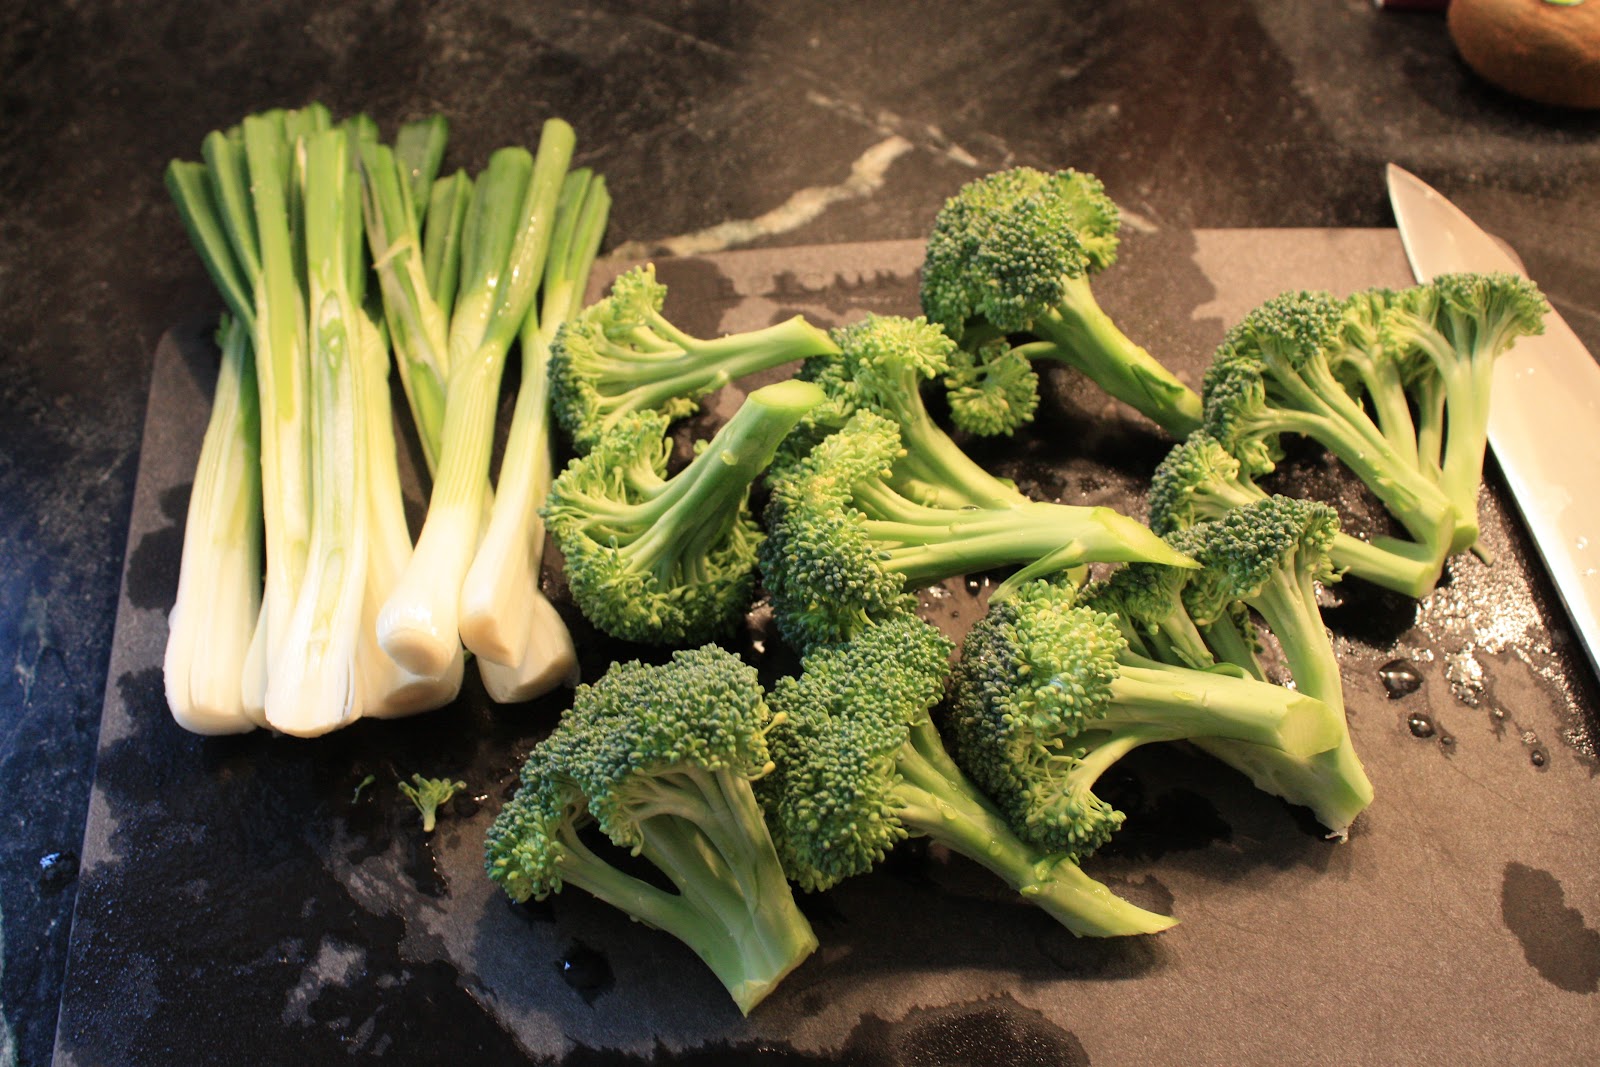
3 medium to large sized summer squash and/or zucchini, diced
½ cup golden raisins
½ cup pistachios
Juice and zest of one lemon
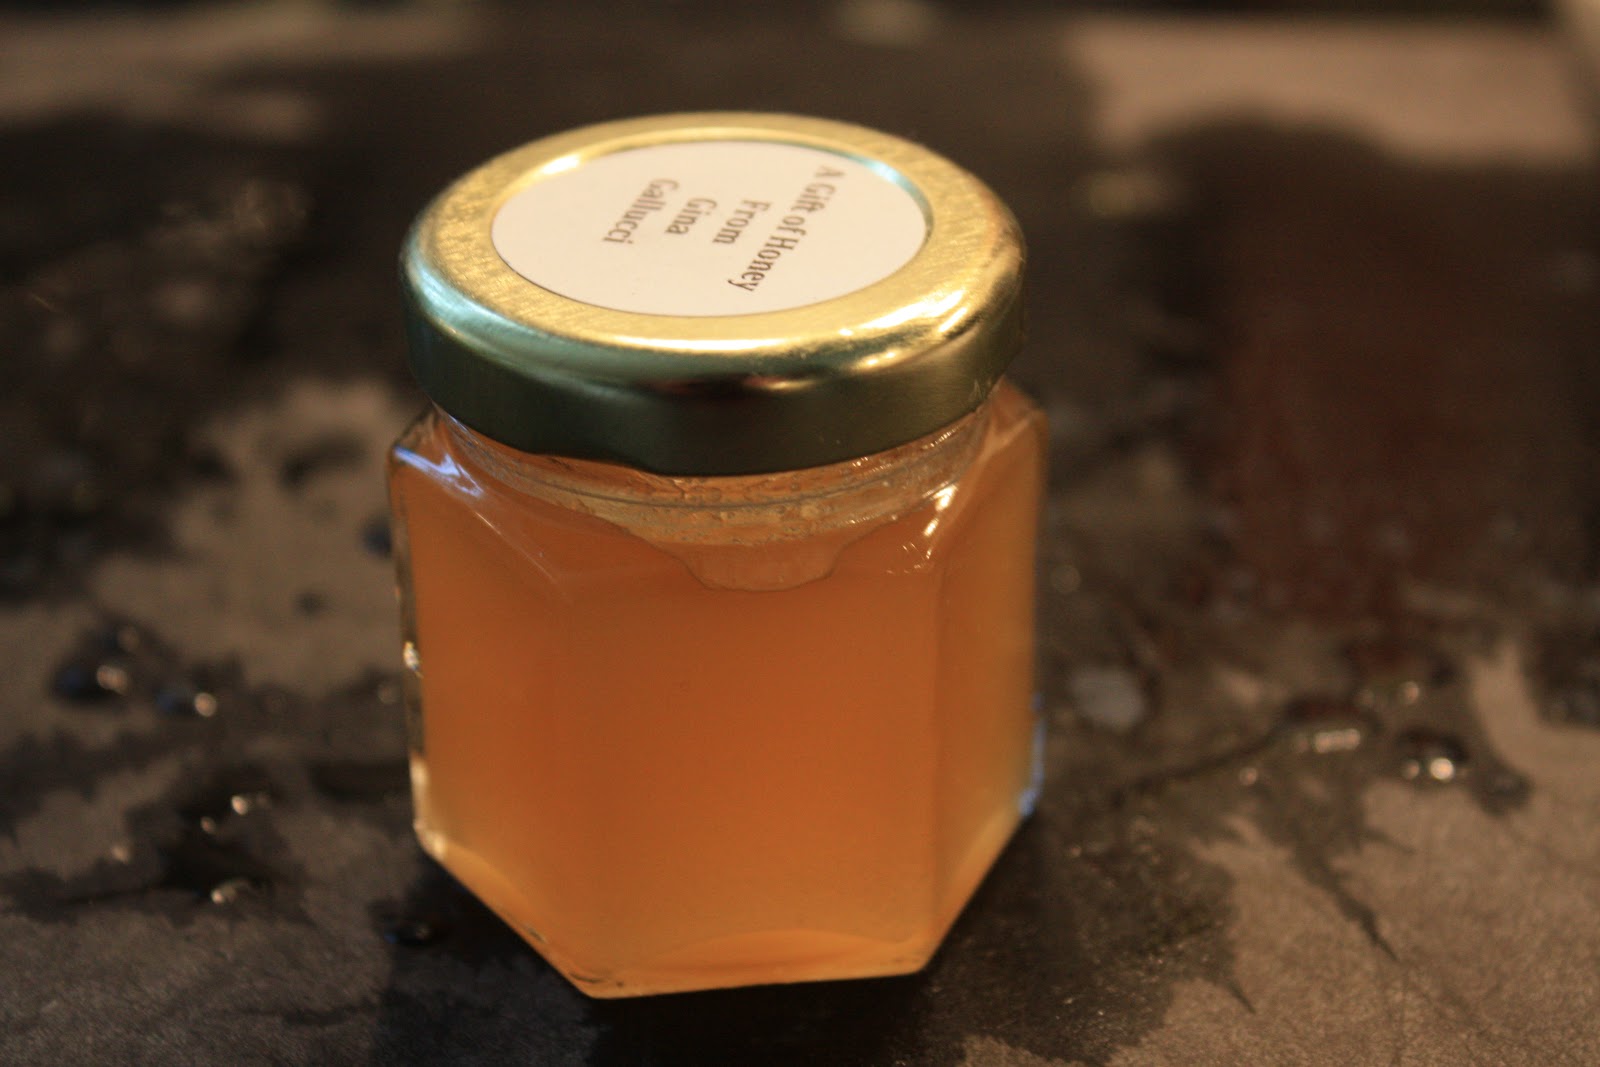
1 tablespoon honey (preferably local)
Extra Virgin Olive Oil
Sea Salt
½ cup ground cherries, halved
10-15 leaves of lemon basil, torn

I realize this recipe calls for a lot of diced vegetables.  If you don’t have the time to dice this many, I highly recommend the Vidalia Onion Chopper.  Yes, it’s gadgetry.  It’s another thing to store.  Maybe you can do this with a food processor.  Or, are skillful enough with a knife that you can knock this out in no time.  I am not.  So, this baby is a time and life saver (literally, I am dangerous with knives) for me.  It allows me to quickly dice all these vegetables into perfectly-sized, uniform pieces. 

Here we go:
1.       Heat 2 tablespoons of extra virgin olive oil on medium high heat in a large sauté pan.  Add the garlic and let it mellow in the pan.  You want it to lose some of its rawness, but not brown.  If it begins to brown, reduce the temperature.
2.       Once the garlic has cooked for about a minute, add the onion and sauté for 2 minutes.  If you have reduced the temperature, increase it to medium high again.
3.       Add the pepper medley to the pan and sauté for 2 minutes.  You want the peppers to sweat to reduce the moisture, but not brown.  If they begin to brown, reduce the heat slightly.   If the pan begins to get watery, increase the temperature.
4.       Add the summer squash and continue to cook.  At this point, you have two choices; you can cook at the same temperature for another 2-3 minutes.  Or, you can reduce the temperature and cook the mixture more slowly.  I reduced the temperature to medium low so that I could quickly make the sauce.
5.       To make the sauce, mix the juice of a lemon, the zest of a lemon and the tablespoon of honey.
6.       Once the squash is cooked al dente, remove the pan from heat and dress them with the honey and lemon mix.  Finally, toss in the golden raisins and pistachios.  Salt to taste.
7.       Plate the vegetable medley and dress each serving equally with halved ground cherries and torn lemon basil.
 
I served the vegetable medley over farro.  Farro is easily my favorite side.  I like it better than pasta, rice, quinoa, couscous, etc.  It has a wonderful texture and a delicious, nutty flavor.  It is the perfect complement to this medley.  I make it according to the package directions skipping any added fat and adding just a touch of salt. 

Stay cool!

Sunday, May 29, 2011

CSA Box + Iron Chef Style Challenge = Dinner

This season, I signed up for a CSA with Riverview Farms.  They came very highly recommended (Thanks Pattie and Kathy F!).  Honestly, we have been in a bit of a rut.  While I love what we grow and what we typically eat, we aren't really trying anything outside of the raised bed box.  And, I am getting a little bored.  So, I decided to get inside the box- the CSA box- with the hope of trying some new stuff to spice up our usual routine. 

My mom collected the first box for me on Wednesday because I was occupied at the hospital with my son's surgery.  When he was released from the hospital on Thursday, I couldn't wait to get home and see what was inside that box!  I know.  Priorities, right?

The first box came with the following:
  • Radishes
  • Garlic
  • Onions
  • Lettuce (Romaine?)
  • Arugula
  • Pak Choi
  • Collards

I think that's all of it.  So, I quickly began thinking of what I could do with all that luscious produce.  And, it was luscious, let me tell you.  This is what I came up with for the first night:

Radish, Onion and Shrimp Salad
This recipe serves 4, but can easily be tweaked for additional or fewer servings.

  • 6 radishes, scrubbed, cut length-wise into thick matchsticks
  • 1 large onion, peeled and sliced thinly
  • 1/4 cup balsamic vinegar
  • 3 shallots
  • 1/4 cup red wine vinegar
  • 1/2 cup extra virgin olive oil
  • 2 teaspoons Dijon mustard
  • 24 large shrimp, peeled and deveined and skewered
  • Spike seasoning
  • Maytag Blue Cheese to taste (I used half of one wedge)
  • 1/3 cup sweetened, dried cranberries
  • 1 head of lettuce, washed and ripped into bite size pieces
  • 2 cups (approximate) arugula, washed, large pieces torn
  • Salt
  • Freshly ground black pepper

Part 1:  Radish and Onions
Take the sliced onions and matchstick radishes and toss them with 1/4 cup balsamic vinegar, 1/4 cup extra virgin olive oil, a large pinch of salt and freshly ground pepper to taste.  Once everything is coated, put it on a large baking sheet and spread it all out.  Roast this in the oven for 35-45 minutes at 350 degrees.

Part 2:  Make the Dressing
Finely dice the 3 shallots, set aside.  In a container large enough to fit a whisk (I use a 2 cup measuring cup), add the red wine vinegar and Dijon mustard.  Whisk.  As you are whisking, drizzle in 1/4 cup extra virgin olive oil very slowly to make an emulsion.  Add the finely diced shallots.  Add in salt and pepper to taste.

Part 3:  Grill the Shrimp
You should have about 6 shrimp per skewer.  Shake some spike onto the shrimp and grill.  Shrimp will cook very quickly.  You should only need about 3-4 minutes per side.  Take care not to over-cook them.  Once they have finished, set them aside.

Part 4:  Assemble the Salad - serves 4
Arrange the salad greens and arugula on each plate.  Top the greens on each plate with evenly divided portions of the roasted onions and radishes.  Top the onion/radish mix with a sprinkle of Maytag blue cheese and sweetened, dried cranberries.  Dress with 1-2 tablespoons of the dressing.  Serve with the shrimp on the side.

It was delicious and filling and just what I was hoping for.  I don't think I would have thought to put the onions and radishes together if they hadn't come in the box together.  And, the desire to want to use the produce before it goes bad is forcing me to get creative and cook beyond the boundaries of a recipe.  In fact, I found the challenge fun!  It's as if I am having my own Iron Chef CSA Challenge right in my kitchen!  Next up, conquer the Pak Choi...

Thursday, April 21, 2011

Onions: Cooking past the Moment

I mentioned earlier this week that I spent the weekend clearing the old and planting the new in the garden.  When I cleared the beds, I pulled out a decent number of spring onions.  I pulled them out first thing and then left them in piles in the grass near the beds for the whole day.  I did not bring them inside until almost nightfall.  Shame, shame!  In my own defense, it was a very busy day which included helping a neighbor with a new landscaping plan and participating in a bee hive inspection with the kids at Dunwoody Nature Center.  When I (finally) got around to bringing them in, they were wilted and I didn't quite know what to do with them (yet), so I stuck them in a wash pan in the sink with about an inch of water.  And, there, I left them.  This was on Sunday.  When I got around to thinking about them again, it was Tuesday.  Oddly, upon inspection, they looked fantastic!

No longer wilted.  Nice and firm, not soggy.

So, I got busy with the business of making something of them.  On a quest for the perfect recipe, I turned to a new cookbook in my collection that I can't seem to put down, Cooking in the Moment: A Year of Seasonal Recipes by Andrea Reusing.  It took me no time to find it, Onion-Braised Overnight Brisket.  With only 7 ingredients, each individual flavor is sure to shine.  Perfect.  At this point, I would like to mention the fact that, as a household, we do not eat much red meat.  We have a couple of family members with high cholesterol, so when we have red meat, it is a real treat.  Paired with the fresh from the garden wash pan onions, this certainly would be a treat.  And, I was off!

All pretty and clean.
Sliced and ready to be sauteed.  But, now, they must wait again while I tend to the meat.
Garlic, rough chopped.  You add the salt and chop until it forms a paste.
You rub the paste all over the non-fatty side of the brisket and sprinkle it with pepper.  Then, roll it up, tie it with twine and sear it on all sides.
Saute the onions with a little salt, sugar and oil.
Add the beef brisket to the onions and add a cup or so of water.

Make a blanket of parchment to capture the steam and keep it moist while it cooks.

Put it in a low oven (225 degrees) for 7 hours.  That's right, seven hours.
After seven hours of low-and-slow roasting, I challenge you to get this beef to the table without nibbling first.  It is simply impossible.  It comes out fork tender like I have never experienced before, absolutely delicious flavor -not one single flavor dominates but they are all there and beautifully balanced- and moist as can be.  There is a whole bit about doing something with the onions to make a sauce, but I did not get that far.  I tore into this thing with my bare hands while still in the pot and never looked back (at the recipe, that is).  Wow.  I realize this sounds a bit primitive, but I would just like to point out that I am anemic.  So, that is, at least, partially to blame.  I think.  Or, maybe not.  People, it was good!  What can I say?

I would also like to mention that the cookbook author, the clearly talented Andrea Reusing, will be cooking at Watershed on Sunday, May 1st.  I would love to attend.  But, my usual dinner date will be somewhere that is not here that evening.  Therefore, I may not.  Plus, I get this thing near great chefs.  I have a long history of being a mediocre-at-best home cook.  I have never poisoned anybody (that I know of) but it sure feels like I've come close a few times.  Right now, I am sure my Dad would like to chime in with a vegetarian pizza story from when I was a sophomore in high school that I will never live down.  It was not clear to me at such a tender age that a head of garlic was different than a clove.  When, the recipe for a single pizza called for 10 or 20 or 40 cloves (who can remember?), I substituted heads of garlic. The bottom line is, because of my sordid past in the kitchen, anytime I am near such culinary genius, I get strange.  In the event that you are not similarly afflicted and you would like to attend, here are the details:


Andrea Reusing comes to Watershed to promote her new book, Cooking in the Moment


The dinner will take place on Sunday, May 1 at 6:30 p.m. and will include six courses plus wine for $125. Tax and gratuity is included. For reservations, call Watershed at 404-378-4900.


Finally, if you would like to preview the cookbook, you can do so here.

Friday, April 1, 2011

The FULL File: Baby, meet Honey

Here's another fun use for those delicious baby Vidalia onions should you have some handy.  This recipe stems from a sort-of challenge in my own mind with my husband.  The evening before, we were discussing the bees.  Of course, I was animated and excited.  He was dozing off.  Something, I can't image what, inspired me to ask my husband if he even likes honey.  He responded quickly with, "Oh my yes!  I just love honey to bits! I'm not sure.  When do I even eat honey?  What is it in?"  Say what?  I saw this as a challenge and an opportunity to enlighten my husband to the wonders of honey.  And, since we know he digs onions and I still had four left, I decided to go that route.  I was already planning on serving chicken in a teriyaki marinade and being a person who loves a theme, I decided to stick with Asian.  So, I immediately thought soy sauce.  And, then for reasons unknown to me, I thought lemons and rice wine vinegar.  It helped that I had them on hand and was determined to avoid a trip to the grocery store.  Now, I also thought sriracha, ginger and garlic, but there it got complicated so I stopped.  As with anything that comes out of my brain and results in food, this can be tweaked to no end to make it even better if you have the talent and fearlessness.  So go for it!  This is what I ended up with:

Honey and Soy Glazed Roasted Broccoli and Baby Vidalia Onions
serves 4
1 head of broccoli
4 baby Vidalia Onions
2 tablespoons of good honey, local if possible
1 tablespoon of rice wine vinegar
2 tablespoons of lite soy sauce
1/4 lemon, juiced
2 tablespoons extra virgin olive oil
sea salt
pepper
  • Preheat oven to 450 degrees.
  • Trim the stalks (the green parts) off the onions leaving about 4 inches.  Cut the onions in half lengthwise.  
  • Chop the broccoli however you like.
  • Put the broccoli and onions on a baking sheet.  Drizzle the broccoli and onions with olive oil.  Sprinkle with sea salt and pepper.
  • Combine the honey, soy sauce, rice wine vinegar and lemon juice and mix well.  This would also be a good time to add any spices like garlic, ginger, crushed red pepper flakes, a hit of hot sauce, lemon peel, etc.  You get the idea.
  • Pour this over the broccoli and onions and shake them in the pan to get decent coverage on the vegetables.
  • Roast in the oven for 15 minutes, tossing them around about half way through.
As we sat down to dinner, I anxiously awaited my husband's response to the veggies.  He loved them.  Or, that's what he said, anyway.  He is so sweet to me, one can never be sure.  It could be horrible and he would tell me it's delicious and eat every bite.  Two weeks later, which doesn't work for the purposes of this blog (Sorry- consider yourself warned!), he will gently tell me it wasn't his favorite.  Anyway, I asked him, "Can you guess what's in the marinade?"  Immediate deer in headlights reaction at the table.  I can only imagine what was going on in his mind, "This is a test.  I am supposed to know.  This is like when she asks me if I notice anything new or different about her."  I got, "Ummmm."  I said, "Honey!  There is honey in this!"  To which he laughed and responded, "Oh!  I get it.  Well, then, I guess I like honey!"  Baby, meet honey!

A tiny jar of honey I received as a gift for participating in the Metro Atlanta Beekeeper's Short Course in January.  It has been waiting for a special occasion.  I think this qualifies!
The broccoli and the onions, prepped.
On the pan, dressed and headed into the oven.
Dinner is served!

Wednesday, March 30, 2011

The FULL File: Bon Voyage, Baby Vidalia Onions!

Last week, my husband made a trip north to take care of his Mom.  She is recovering from surgery to repair a broken femur- the result of a skiing accident.  Not good.  I mean the broken femur, not the visit.  The visit was very good.  At any rate, I wanted to send my husband off with a full belly.  The way to a man's heart and all that.  Well, my man happens to have a thing for onions.  And, I just happen to have onions, sweet onions, in the garden just begging to be used.  I guess that makes us a match made in heaven the garden.
All I needed was a great recipe that would highlight the onions.  Enter, Quick-fix Southern: Homemade Hospitality in 30 Minutes or Less, and the Baby Vidalia Frittata.  Wouldn't you know it!  The onions growing in that photo just happen to be Yellow Granex Onions.  If the folks at Botanical Interests are to be believed, then this type of onion is approved by the Georgia Agricultural Commission for use by farmers growing the famous Vidalia Onions.  I planted some seeds last fall and had been waiting for them to be big, plump bulbs so I could yank them out of the earth and do something fun with them.  But, according to Rebecca Lang, the cookbook author, there was no reason to keep waiting.  She says, "Once I see the baby onions in the store, I use them in every recipe I can...  ...the onions are tender and delightful."  That was all the convincing I needed to commence yanking.  The fact that my husband also loves sharp Cheddar cheese was an added bonus.  And there you have it.  That is how the frittata and cornbread became my husband's bon voyage meal.

Fresh-picked onions and parsley

Baby Vidalia Frittata
Serves 6
2 tablespoons olive oil
4 baby Vidalia onions, thinly sliced (white and green parts)
8 large eggs, beaten
1/4 teaspoon salt
1/4 teaspoon freshly ground black pepper
1 cup pre-shredded sharp Cheddar cheese
Fresh flat-leaf parsley, chopped


  • Move the oven rack to a position about 5 inches from the broiler. Heat the broiler.
  • Heat the olive oil in an ovenproof, nonstick 10-inch skillet over medium heat. I used my trusty cast iron skillet.  Add the sliced onions and cook, stirring often, for 6 minutes or until soft. Arrange the onions evenly over the bottom of the skillet.
  • Combine the eggs, salt and pepper in a medium bowl. Pour over the onions. Cook, uncovered, over low heat for 9 minutes.  The center of the frittata will still be wet.
  • Sprinkle the cheese over the top of the frittata and broil until the cheese is melted and the eggs are cooked, about 1 minute.
  • Sprinkle with the parsley before serving.
Note:  While this recipe says it serves 6, it does not.  My husband and I each ate a healthy portion.  So, we'll just say this serves 3-4 for dinner-sized portions.  When I make this again, I will add additional fresh veggies like asparagus, broccoli, peppers, etc. 
The onions, ready to get cookin'!

Chopped onions and eggs.

Sauteing the onions in olive oil.

Eggs have just been added.

Next up, broiler.

Out of the broiler and ready to be dressed.

All done.  Let's eat!

Delicious!
For anybody who is interested in this cookbook or Rebecca Lang, you can see her demonstrate a few of her recipes at Whole Foods, Johns Creek, on April 26th.  It costs $49 and includes a copy of her cookbook.

Here's a bit more info:
  
Quick Fix Southern: Homemade Hospitality in 30 Minutes or Less
Tuesday, April 26th

6:30 to 8:30pm $49 Demonstration

Y’all come and get it! Tonight’s class features recipes from Rebecca’s new cookbook, Quick-Fix Southern: Homemade Hospitality in 30 Minutes or Less. Mouthwatering meals can be prepared in a jiffy, thanks to Rebecca Lang’s tasty recipes that defy the notion that Southern cooking is a time-consuming endeavor. In addition to being quick without sacrificing flavor, each recipe is inviting, simple to make, and user-friendly – even for novice chefs. Rebecca, a popular cooking instructor, sprinkles in expert cooking tips and tidbits of Southern history, providing added spice to this evening’s class. Students will also be invited to join in and make “Rebecca’s Quick Icebox Pickles” to take home. A copy of Rebecca’s new cookbook is included in the price of the class.  MENU: Pickled Okra & Ham Wheels; Ribeyes with Bourbon Pecan Butter; Asparagus Bundles with Bacon; and Lazy Girl Berry Cobbler.

You can register for this event by clicking -->here<--.

Tuesday, March 22, 2011

The FULL File: What to do with garden fresh asparagus and broccoli

It's dinner time.
The end of the broccoli is here and the asparagus is just starting to come into play.
So, what can you possibly do with only a hand full of broccoli and a measly 5 asparagus spears?

Pesto dressed Whole Wheat Pasta topped with Asparagus and Broccoli drizzled with Roasted Garlic Oil
Serves 2
(you do not need exact measurements for this meal.  It is completely by taste.  You can add more or less of each ingredient and it will still be delicious. And, because we have high cholesterol and high blood pressure in our household, I don't add salt.  But, you certainly can.  I should warn you that I am not a talented cook, but even I can make this.  So, I am sure you can and you can probably make it better!  Although, nothing tastes quite like homegrown vegetables.  My husband took one bite of the asparagus last night and said, "Wow!  Oh my Gosh!  This- is- so- good!")

1 cup broccoli, cut any way you like
4-5 asparagus spears, tough ends snapped off and washed, cut into 1 inch pieces
2-3 cups cooked and drained whole wheat pasta
2-4 Tbsp freshly grated Parmesan cheese
2-4 Tbsp pesto
2 Tbsp roasted garlic oil (any will do, I use Lizzie's)

This comes together so easily:
  1. Boil the whole wheat pasta, any type, according to the manufacturer's directions.
  2. Drain the pasta and toss with the pesto using more or less depending on your taste.
  3. Meanwhile, steam the broccoli for 3-4 minutes.
  4. Add the asparagus to the broccoli and steam for another 2 minutes.
  5. Toss the steamed broccoli and asparagus with the roasted garlic oil to taste.
  6. Place about 1 cup of dressed pasta on each plate and top with the broccoli and asparagus mix.
  7. Top with the fresh shredded Parmesan cheese.
And, that's it!  Dinner is served!  Now, I should mention that this serves 2.  My kids don't like this and so I made this for the grown-ups and the kids got red sauce with turkey meatballs from the freezer.  Maybe someday?  I don't know.  One can only hope...

PS - At the end of the growing season, I make my own pesto and freeze it for later use.  I have used it all winter and it tastes just like summer to me.  I like Ina's recipe the best, but I like my pesto with less oil and a hint of lemon.  Here's her recipe:  Ina's Delicious Pesto.  Instead of using 1 1/2 cups of oil per batch, I use half or 3/4 cup of good extra virgin olive oil.  And, I add a squeeze of lemon juice per batch.  If you are not into making your own, then I highly recommend LeGrand 4 Nuts and Cheese Pesto.  It is delicious.