
One area I will be watching closely is the row of cucumbers. These are one of our favorite summer crops. There is just nothing quite like a homegrown cucumber on a hot summer day. I know the same can be said of many vegetables. This, I might add, is how I wound up with half a yard dedicated to vegetables and why I am still looking to expand. Still, the whole family gets into the cukes. The kids, after running around in the yard, will yank them straight off the vine and eat them while sitting on the swings. With so many people vying for the cucumbers, it's hard to grow enough. And, this leads to issues. Last year, I grew the cukes up tomato cages, two stacked on top of each other and zip tied together. It worked, but they were not very stable. This year, I have decided to try what I hope will be a better method, a dedicated trellis. Here is how I made one and how you, too, can make one for very little money (think $20-$25 depending on whether you already own a hacksaw or if you'll need to spend $5 to buy one) and an hour or so of time.
Materials to build a trellis:
10' lengths of 1/2 inch conduit ($2.18 each, number will depend on finished trellis size.)
2 -1/2 inch elbows ($3.14 each)
4 -1/2 inch set screw couplings ($1.53 for 5)
2 -1/2 inch two hole straps ($.84 for 4)
Trellis netting ($3.97)
Tools:
Sharpie Marker
Tape Measure
Hacksaw with metal cutting blade, 18 tooth
Scissors
Here's what most of this will look like:
 |
| Do not ask me why, but I bought four elbows. You only need two. |
Step 1: Determine how large you want your trellis to be and mark the side pieces with a Sharpie.
 | |
| I have these in this yellow guide so you can see the markings. You don't need it for cutting. |
Step 2: Using your hacksaw with the metal cutting blade, saw the pieces one at a time.
 |
| This is after I cut both of my pieces to size. |
Step 3: Attach the elbows using the couplers.
 |
| First, feed the side piece into one end of the coupler and tighten the screw. Then, feed the elbow piece into the other end of the coupler and tighten that screw. |
Step 4: Cut the top bar to length.
Step 5: Add the top bar of the trellis using the remaining two couplers.
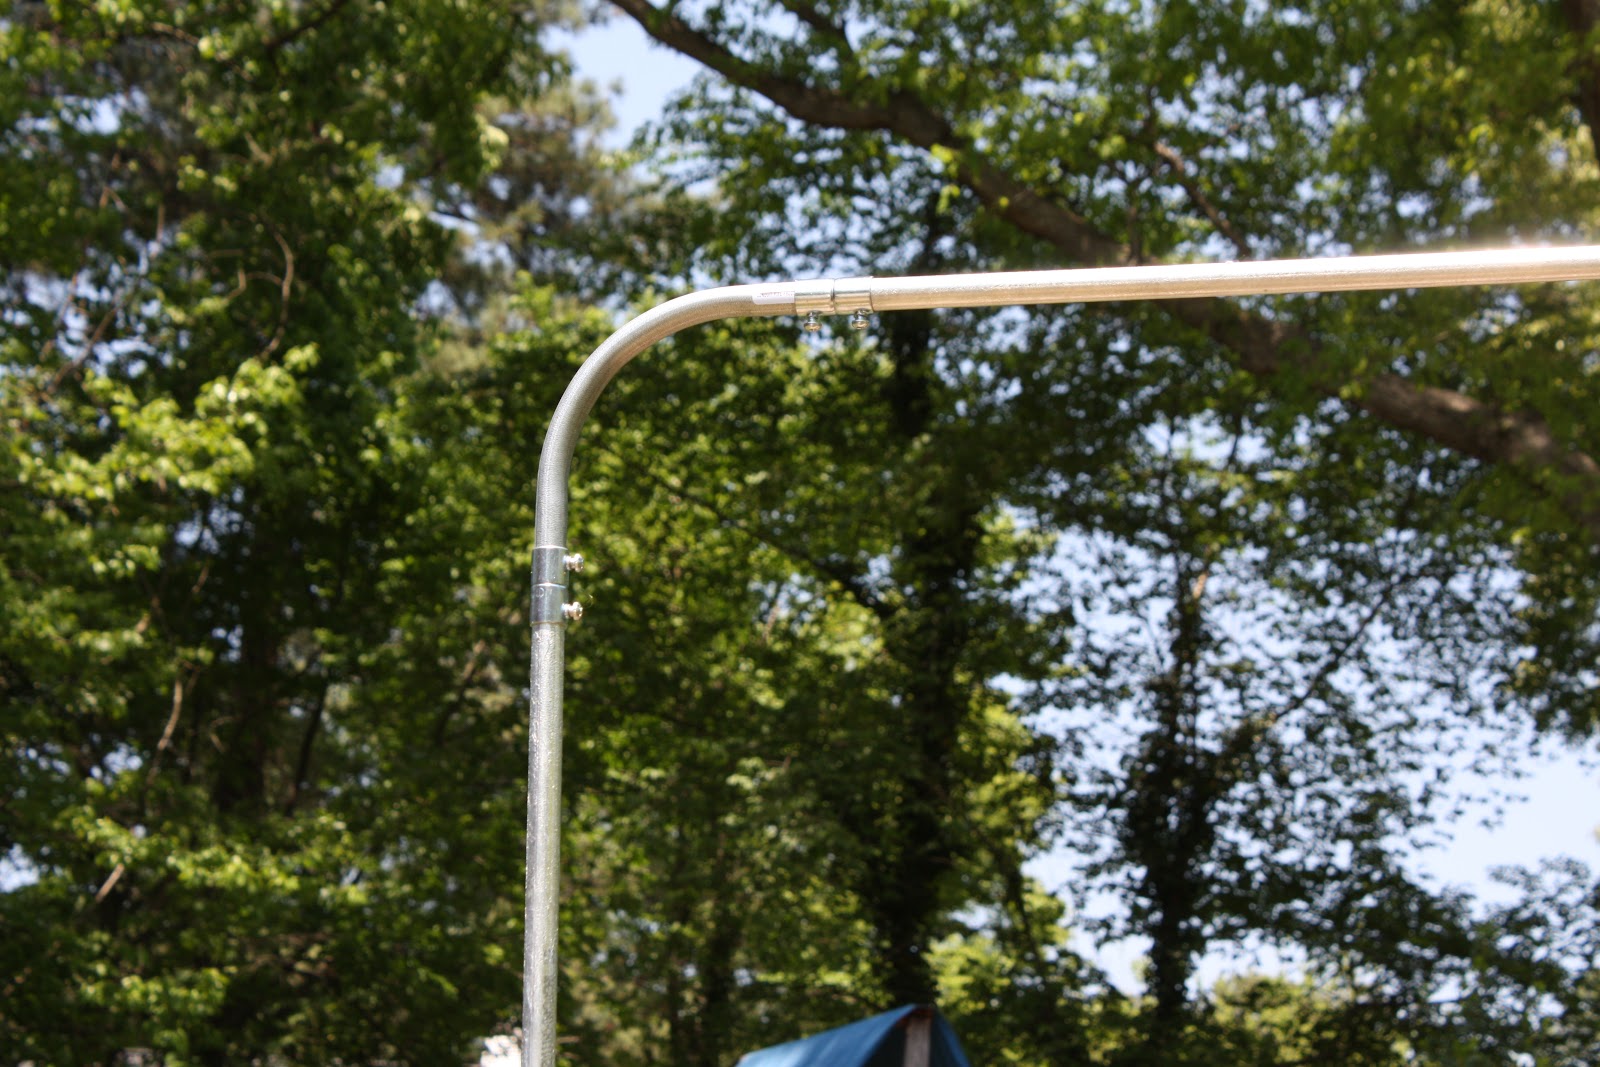 |
| Once you have added the top bar, this is what your corners will look like. |
Step 6: Now, because I am not Bob Villa (or even Handy Manny- although it would be awesome if my tools would magically begin guiding me!) and because I have been known to get the math all wrong, this is the perfect time to take it down to the bed and make sure it all fits. So, this is what I did. After you determine that it does, you want to secure it to the bed using the straps.

Step 6: Remove the top bar leaving the elbows attached to the top bar and feed it through the trellis netting.

Step 7: Tie the trellis netting to the sides and you are done!


Now, all I need are the cucumbers!
No comments:
Post a Comment